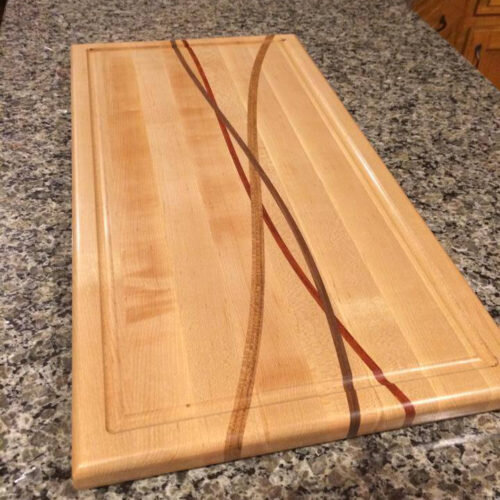
Making a Cutting Board
Build Video
Step 1: Build the Blank
Unfortunately I forgot to take pictures of the milling process of getting my rough-sawn lumber from the lumber yard ready.
What I did after milling my lumber to a rough uniform size, was to glue eight pieces (about 1.5″ wide and about 1.25″ thick). This forms the base of the cutting board. Now that may seem a bit thick but we will be planing it down a few times later which will thin it out.

Step 2: Define the Curves
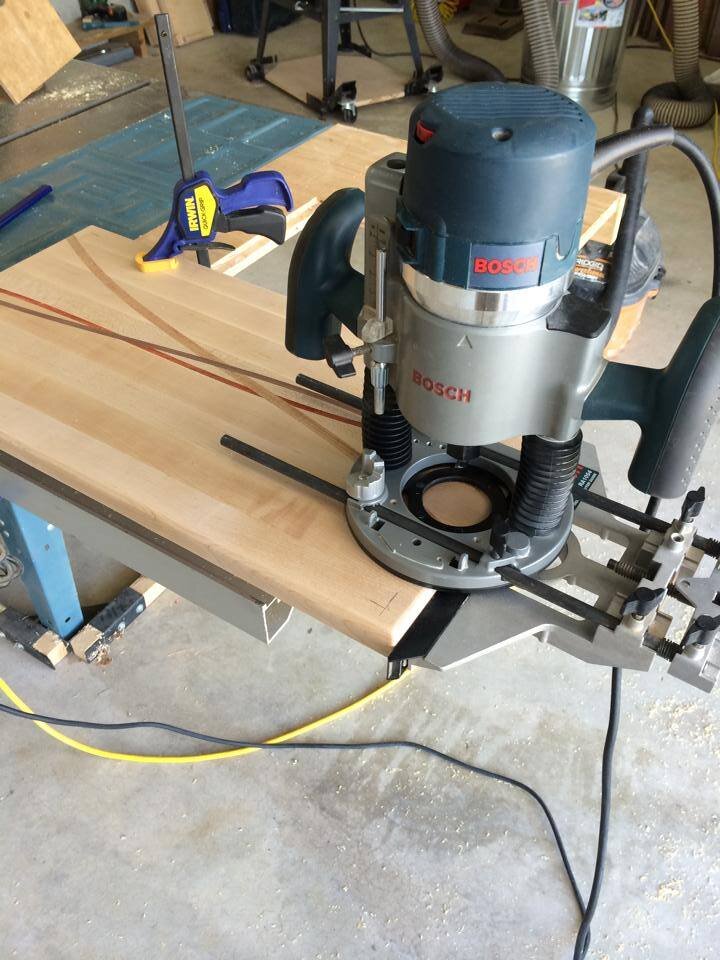
What I did was build a router template for a curve using some scrap MDF board. I used a thin strip of wood that was bent to help define a smooth curve and then cut it out of the MDF. Here we can see the router on the curve template. I use a guide insert to ensure the router follows the template.
The router is chucked with a 1/4″ mortising bit and I cut about 1/4″ into the wood, using two or three passes, not all at once. Why not just cut it at the band saw? Well, I will, once this is done. One important thing to note is that the bit diameter should match the width of the wood you want to laminate in. Otherwise things might not line up as nicely as you’d like.

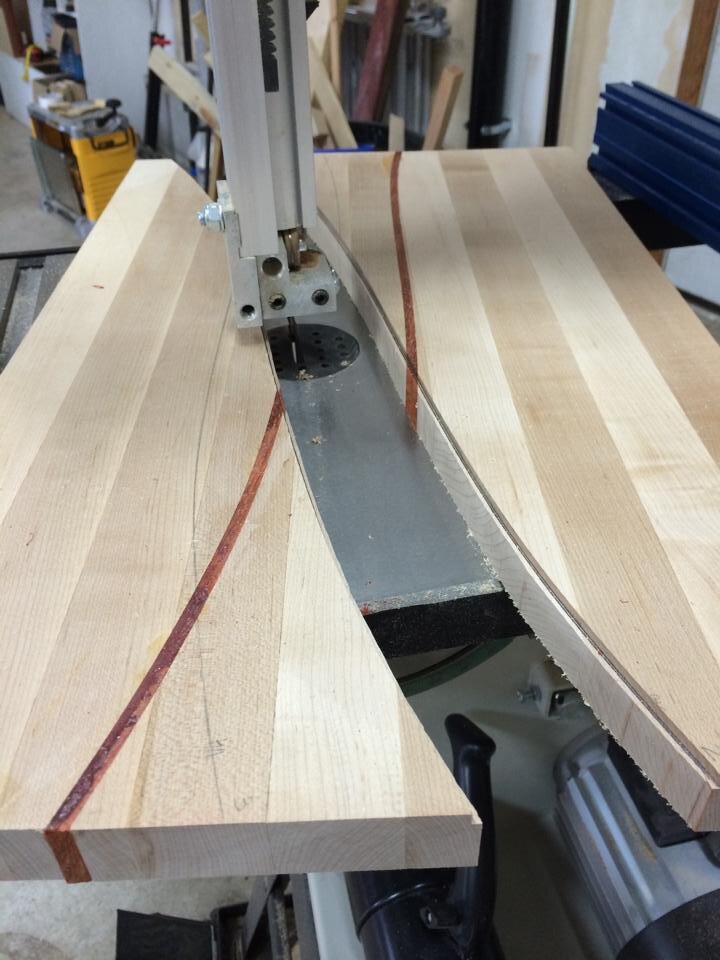
Step 3: Cut and Clean the Curve
Here’s a great example of me forgetting to take ample amounts of photos. As you can see I already have one curve done and working on the second, but the process is the same. That routed out curve allows for a more forgiving experience on the band saw. If you wobble a little bit or the blade isn’t perfectly square to the table no one will ever know. Once it the board is cut at the band saw, I used a 1/2″ flush trim bit on the router. This follows our original route we cut using the template guide and cleans up the band saw cut.

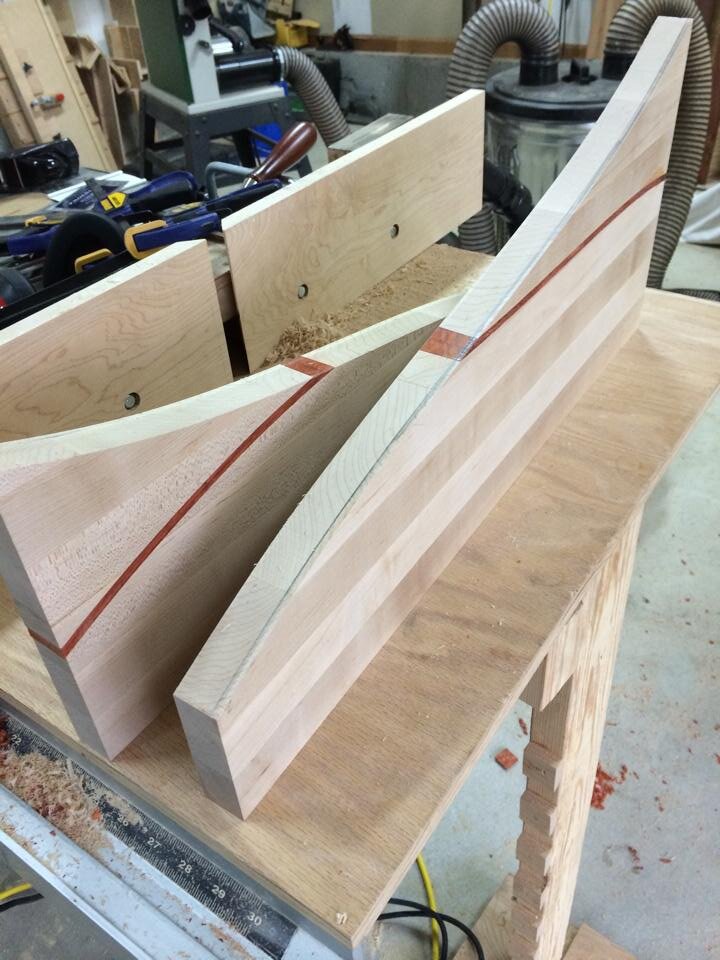
Step 4: Glue it up Again
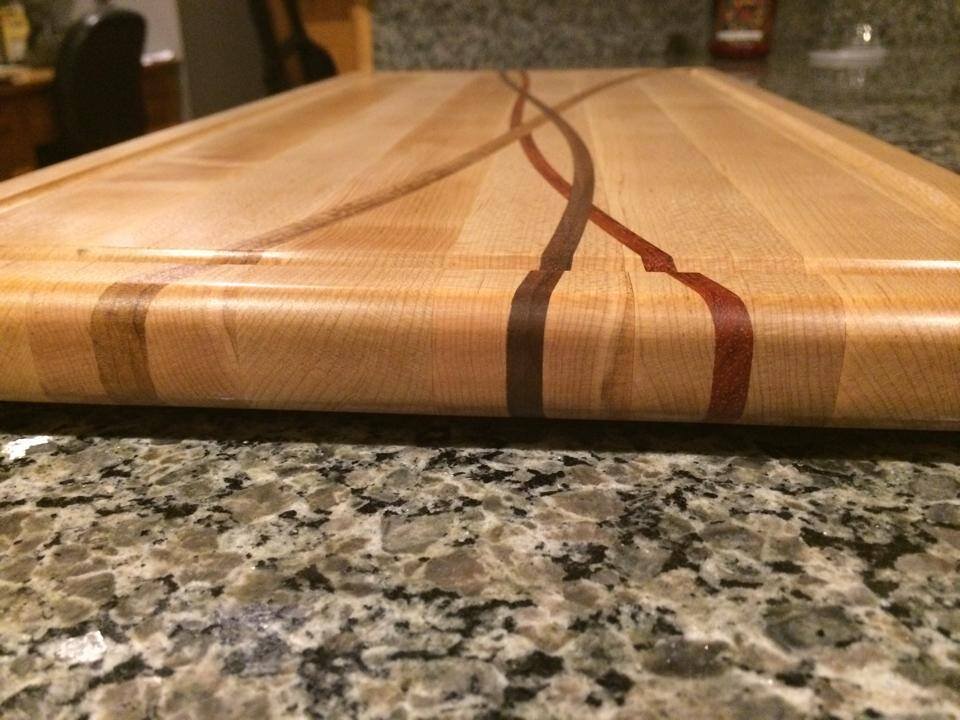
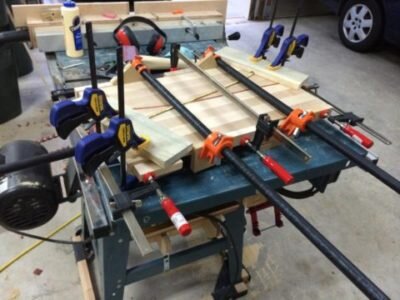
I made 1/8″ thick strips for the inlay of various woods. I used two strips of Padouk for a 1/4″ wide curve, they were also wider than the thickness of the board. This is so it sits slightly proud on both sides for the glue up and gives a small margin of error which we will clean up later. Notice that in the glue up picture, I not only clamped the sides, I utilized ‘cauls’ to make sure it stayed flat. The cauls are nothing more than scrap wood with a wide groove cut in the middle so it clears the strips, and covered with packing tape so they don’t get glued to the cutting board.

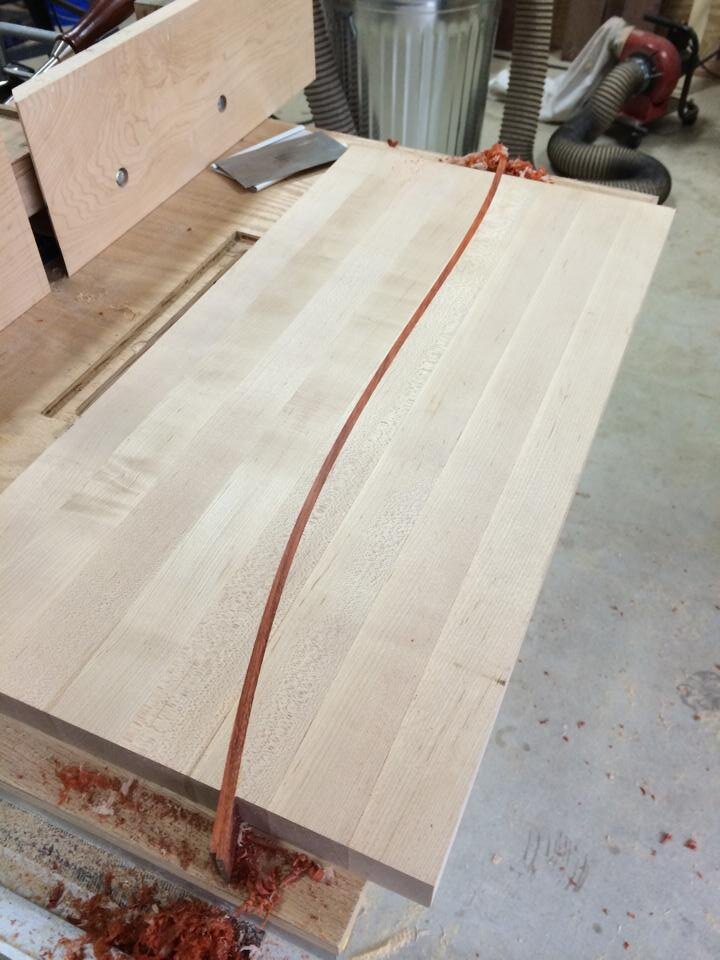
Step 5: Clean Up
Yet another example of not enough picture taking (I didn’t take pictures of this step for some reason). After the initial strips are glued up, they should be slightly proud (sticking out) on the top and bottom and the ends of the cutting board. Use a handsaw (a flush cut saw is better) to cut the pieces at the ends, and a card scraper to bring down the strips to be flush with the faces. A hand plane would also work but is less forgiving. When a scraper is dull it doesn’t do anything, when a hand plane is dull it tears up the piece.
Optional but recommended: Pass the board through the planer at least once on each side to make sure the faces are flat. Don’t take off too much, we finalize the thickness later.
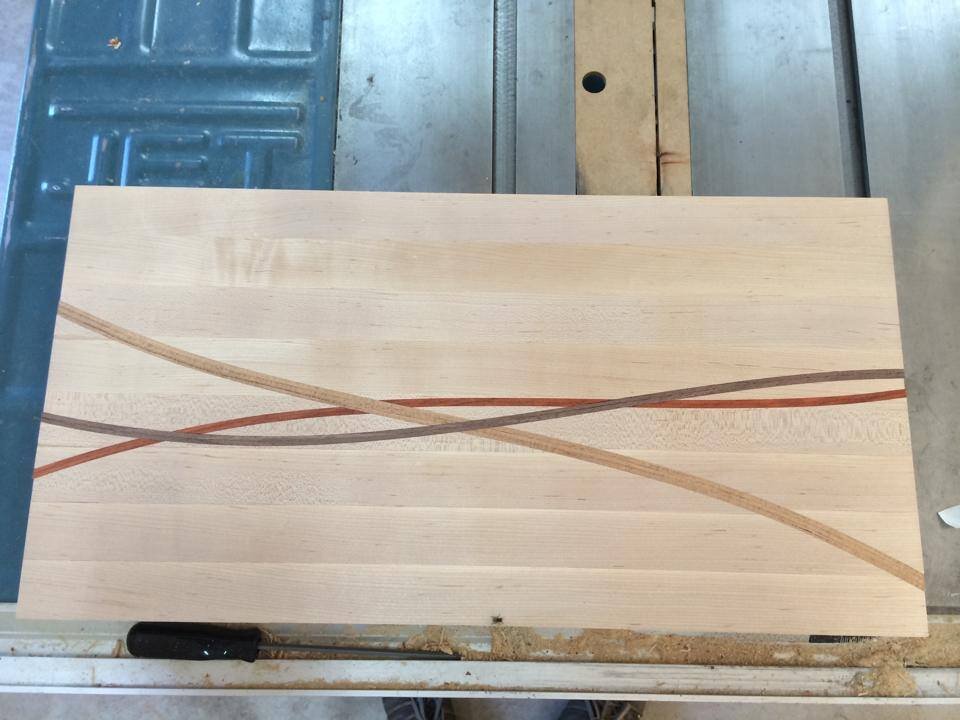
Step 6: Repeat Steps 2-5 for Additional Lamination’s
Once all of the lamination’s are done, pass it through the planer on both sides some more. The goal is to make sure the board is flat and the faces are completely parallel to each other and to get to the final desired thickness. On this one, I think I wound up at about 1″ thick.
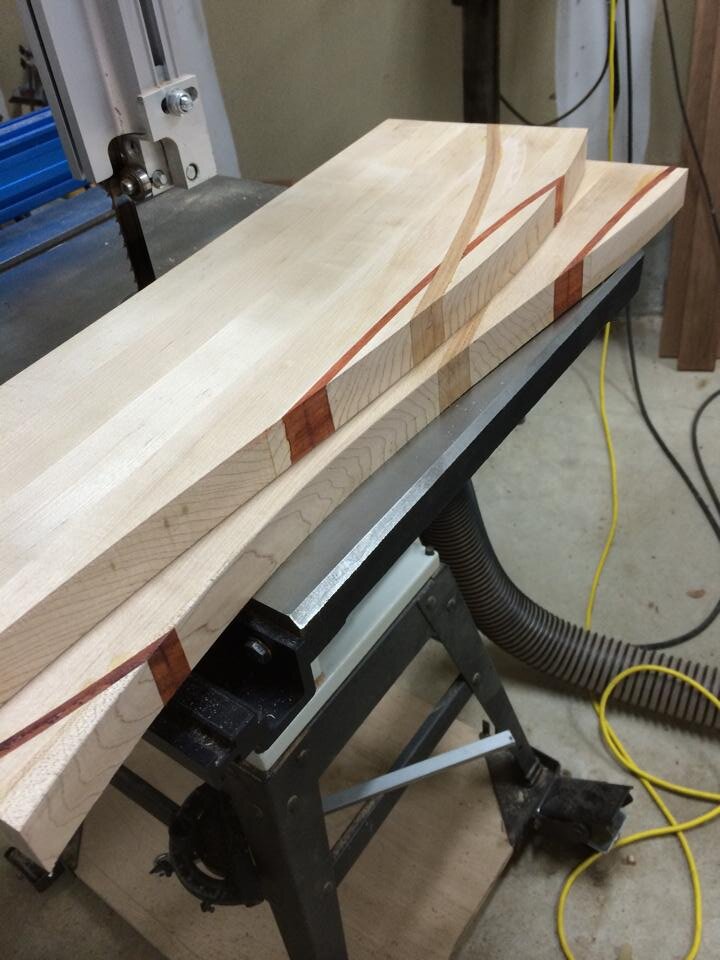
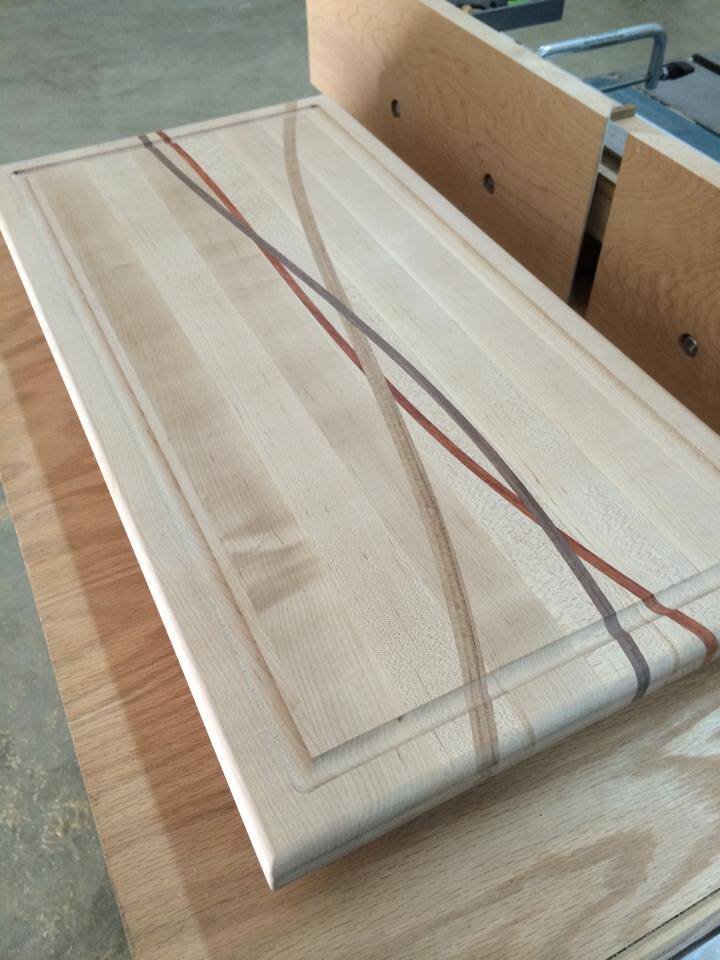
Step 7: More Routing
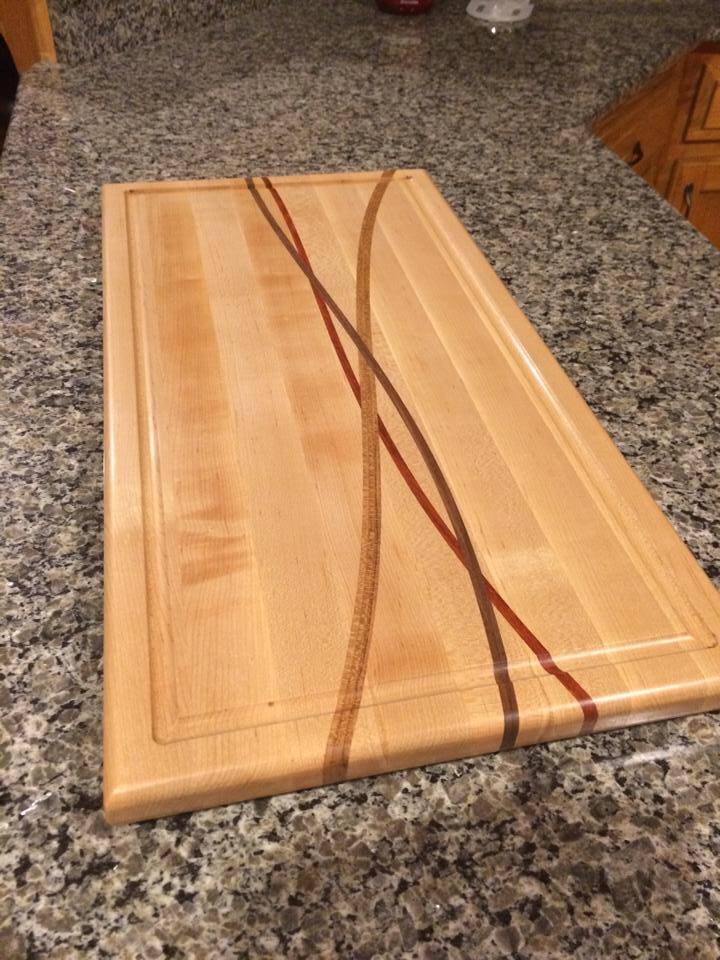
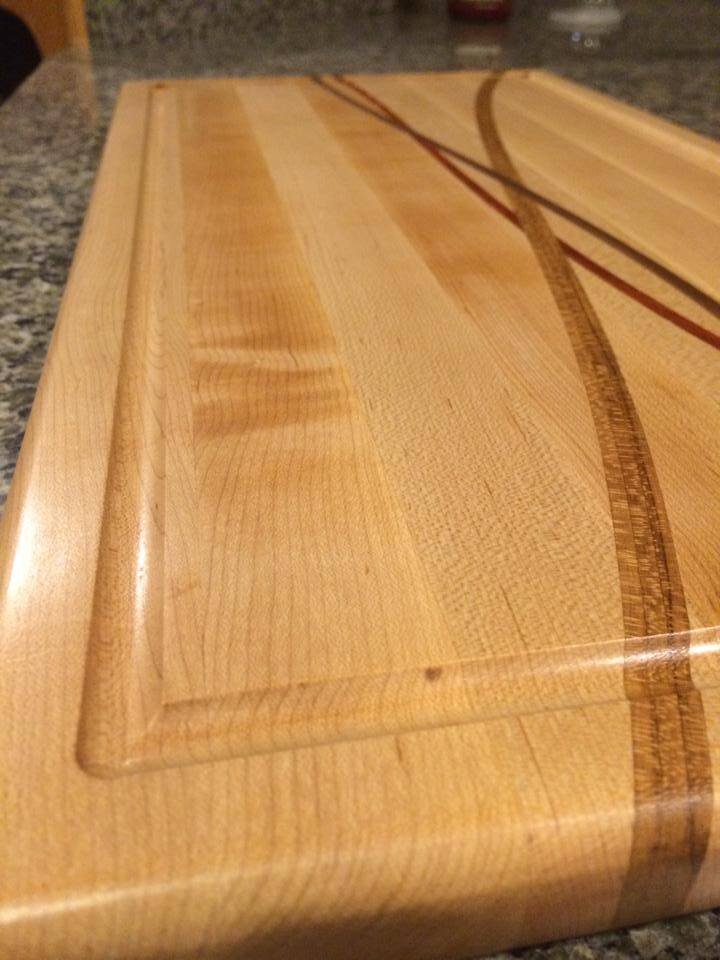
With the board now nice and flat, use a round over bit to soften the edges on both sides. Then use a core-box bit (looks like a half sphere) and an edge guide to do the border profile. I forget what it's technically called, but a lot of cutting boards I have seen have them.
Step 8: Finishing
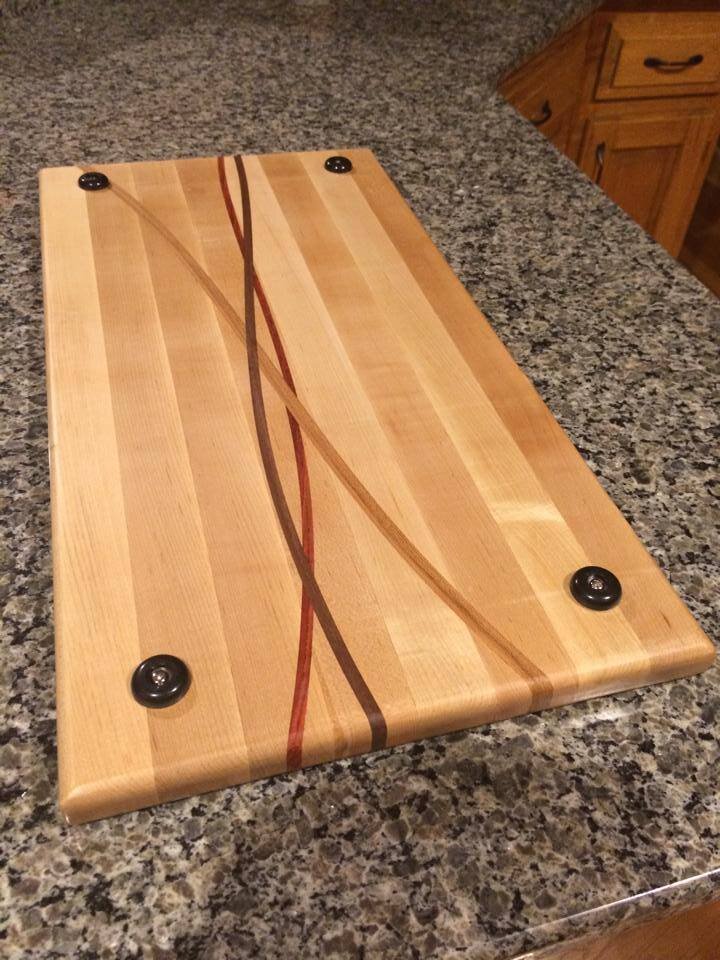
Make sure to use a FOOD SAFE FINISH! There are options, mineral oil, butcher block oil, etc. What I went with is 'Arm-R-Seal's 'Salad Bowl Finish'. It applies like an oil, and gets hard and protects like a urethane finish, and its food safe. I did 3 coats and then afterwards (I should have done before finishing) I added little plastic feet on the bottom that I found in the hardware aisle in the local big box store.