Initial Review: Monoprice Maker Ultimate 3D Printer

The Monoprice Maker Ultimate 3D Printer
I know, it’s not woodworking and this is a woodworking site, but… I have wanted a 3D printer since I first saw one in person over five years ago. A few weeks ago I randomly went to Monoprice’s website and saw they were on sale. I sent it to my wife after reading some reviews and seeing the ratings on multiple sites were good. I didn’t think she would say “go for it” but I figured the worst that could happen would be her saying “no”. To my surprise, she said to go ahead and get it. How serendipitous that it was delivered while we were at Maker Faire KC.
The Straight to the Point Review:
If you’re like me and want reviews that get to the point, here we go.
This is my first 3D printer and I have no prior experience with them. There is a bit of a learning curve but with the aid of YouTube you can get up to speed fairly quickly. The printer is a re-branded Wanhao Duplicator 6, which is handy to know when trying to Google stuff on it. Note: Number rankings are more arbitrary than anything. They are my guess based on my limited knowledge and limited experience.
Build Quality 4/5 — Solid machine out of the box, but I had to print some upgrades for it. Links to Thingiverse at the bottom.
The first major print was a larger spool holder for the back. There is a Thingiverse file for one that threads in perfectly.
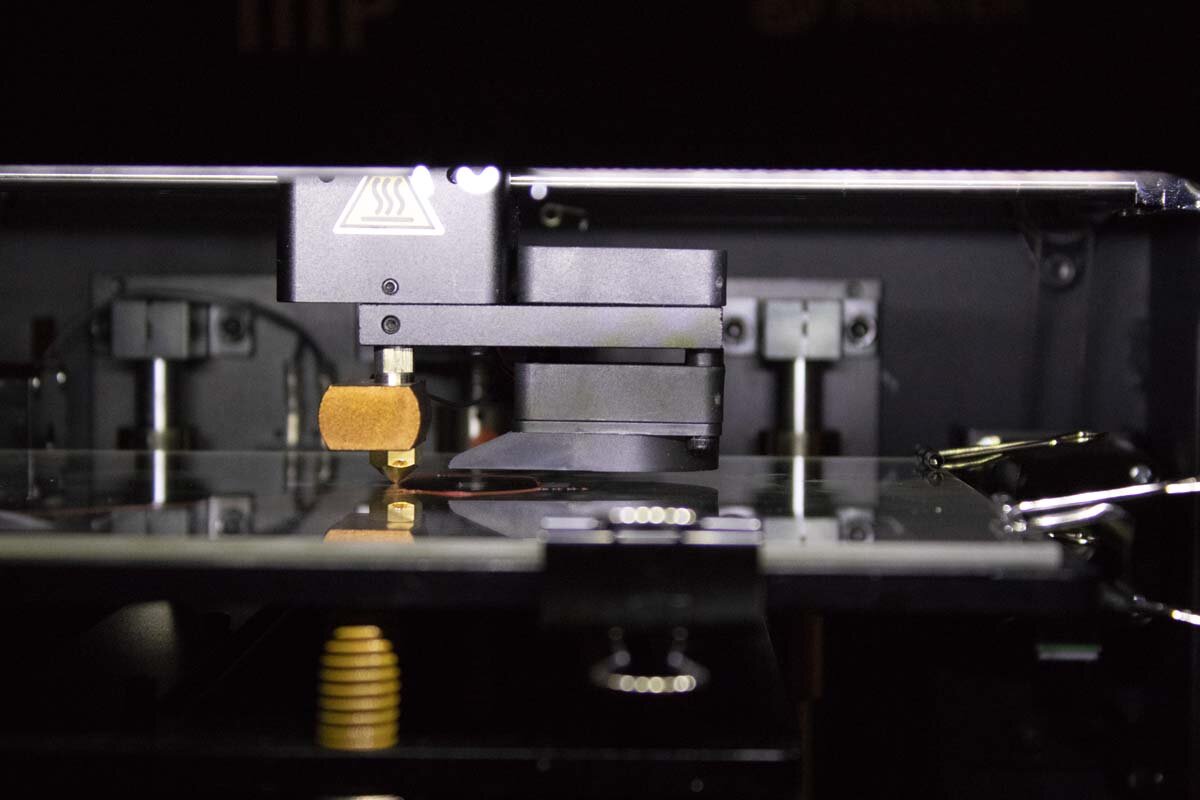
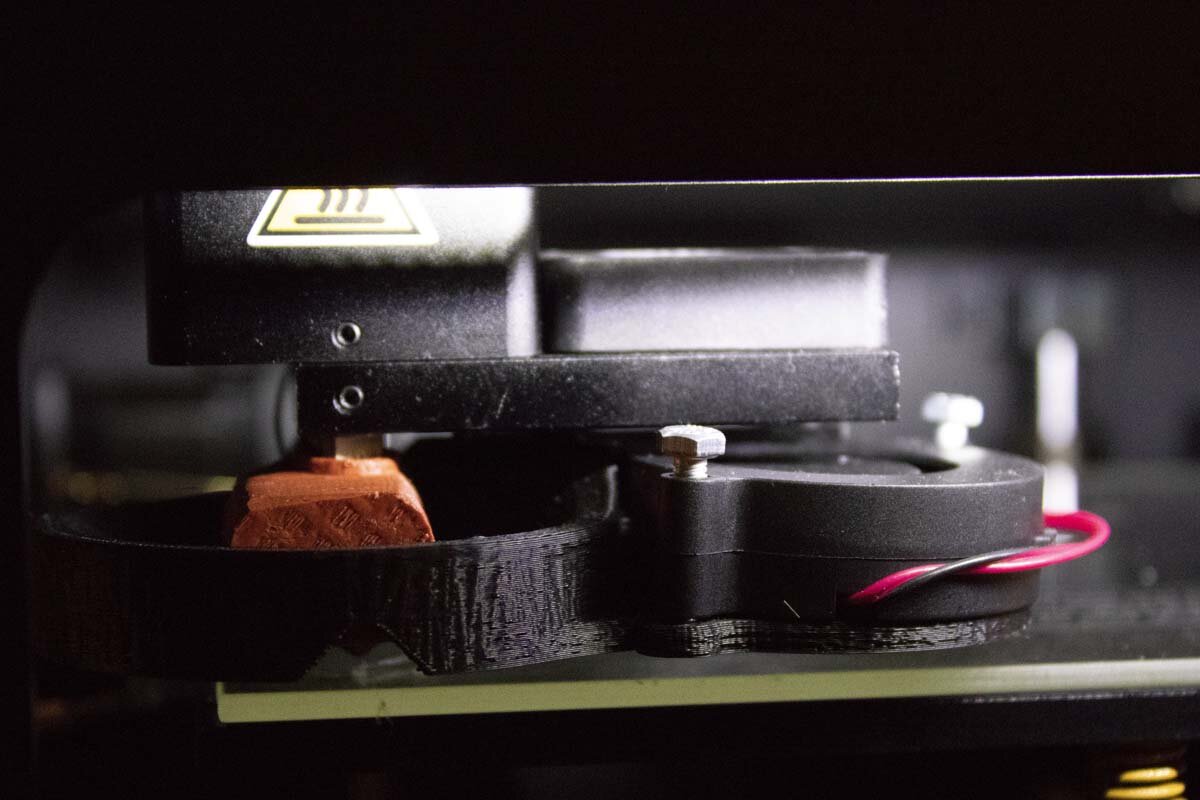
The stock fan for the material doesn’t do much, so I printed a new duct in ABS and hooked up a new fan to it.
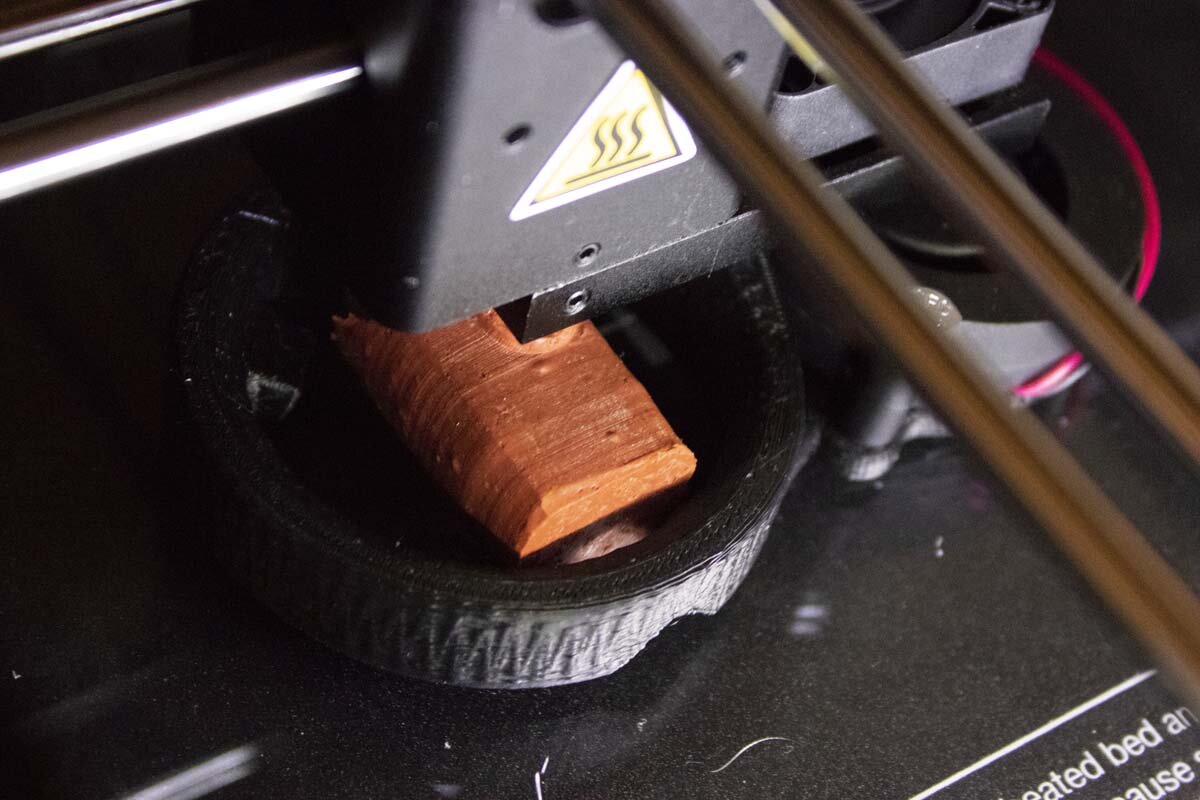
To insulate the hot-end from the new super high-flow duct, I made a silicone boot to insulate it.
Ease of use 4/5 — No touchscreen interface, just a dial. Manual bed leveling but it only takes about 2 minutes to do. Some might think no auto bed leveling might be a deal breaker but I don’t think so.
Print Quality 4.5/5 — Can print layers as thin as 0.02 mm (20 microns) according to the manual but so far have only gone to 0.1 mm and the print quality is awesome in my minimal experience once I got the settings dialed in for the material.
Flexibility 4.5/5 — It seems like a lot of printers are limited to ABS and PLA, but not this one. It can use ABS, PLA, XT Copolyester, PET, TPU, TPC, FPE, PVA, HIPS, Jelly, Foam, and Felty (most of which I don’t know anything about yet). I didn’t go for a 5/5 since I didn’t see that it can do Nylon which is supposed to yield strong parts. So far I have used ABS, PLA, PLA+, and PET-G in it just fine.
If you don’t have experience with 3D printing this is a solid first printer in my opinion. At one point I got overzealous and tweaked a lot of settings in Cura and my prints kept failing. If you stick to the stock settings and do small incremental tweaks and not a bunch at once, it will be a better experience.
Additional Notes
Following the advice of a few people, I got a piece of borosilicate glass for the print bed. They all have various reasons but since it was only $8 for a sheet, I just went ahead and got it. I use a high tech method of holding it to the build plate: binder clips. The upgraded blower does hit them though if I am not careful and place them away from where it might hit. But with 4 or so holding it down it shouldn’t budge if one gets knocked.
The manual says it can print up to 150 mm/s but I have found it prints much better at slower speeds. I have found that 30-60 mm/s works well in my limited experience.
The main image for this post is from Amazon. Mine looks just like the picture out of the box but I don’t have a good picture of it at the moment.
Bottom Line
Would I buy it again? Yes, especially if it’s on sale. But keep in mind, I also don’t yet have experience with any other 3D Printer. I am really looking forward to what I can do with this thing, and hope to do more functional type of prints but with two boys, I am sure I will be printing little boats and planes soon.
First Printer Upgrades
Below you can see how the upgraded part cooler and silicone boot for the hot-end turned out. It greatly increased my print quality on overhangs. I need to make sure to only run at around 30% or it cools the material too fast from what I discovered so far.