Live Edge Cutting Boards

Backstory
A nice lady from Kentucky reached out to me via the Custom Work Inquiry about helping preserve some of her family’s history. The family has a farm in Kentucky and for a long time, tobacco leaves were dried in the barn on thin sticks of wood (roughly one-inch square, but varying widely in size and shape). At first, I was admittedly clueless what ‘tobacco sticks’ were. I found out quickly these were pieces of oak, maple, cherry, poplar, and pine (90% oak). She also told me that these pieces, in particular, are probably approaching 100 years old and have been just stored in the barn for the last couple of decades. Now they get a new life as a different style of live edge cutting board.
I was excited at the prospect of trying this out. However, I was openly cautious with her about there being a chance the wood is unusable without my being able to see it. She took a chance and rolled the dice and sent me the wood on a pallet out here to Kansas City. I would say the gamble paid off. She and her family now have over a dozen quality unique cutting boards that they can enjoy for years to come.
Side note: With the wood being porous oak (and some pieces being very porous) I have disclosed and recommended that these should be for decoration only and not used for food prep.
The Process
Step 1: Milling
The sticks weren’t exactly straight and had tapered ends and varied in size, length, and species. The first item on the agenda was to cut off the tapered ends and cut down to a rough length of around 15 inches. This yielded about 3 pieces per stick with minimal waste.
For the next part of the process, I used the jointer and jointed two adjacent sides giving me a nice 90-degree angle. After the jointer, the pieces went through the planer to give me 3 straight and smooth sides and one live edge side. Two sides for gluing, one side would become the top of the board.


Step 2: Sorting
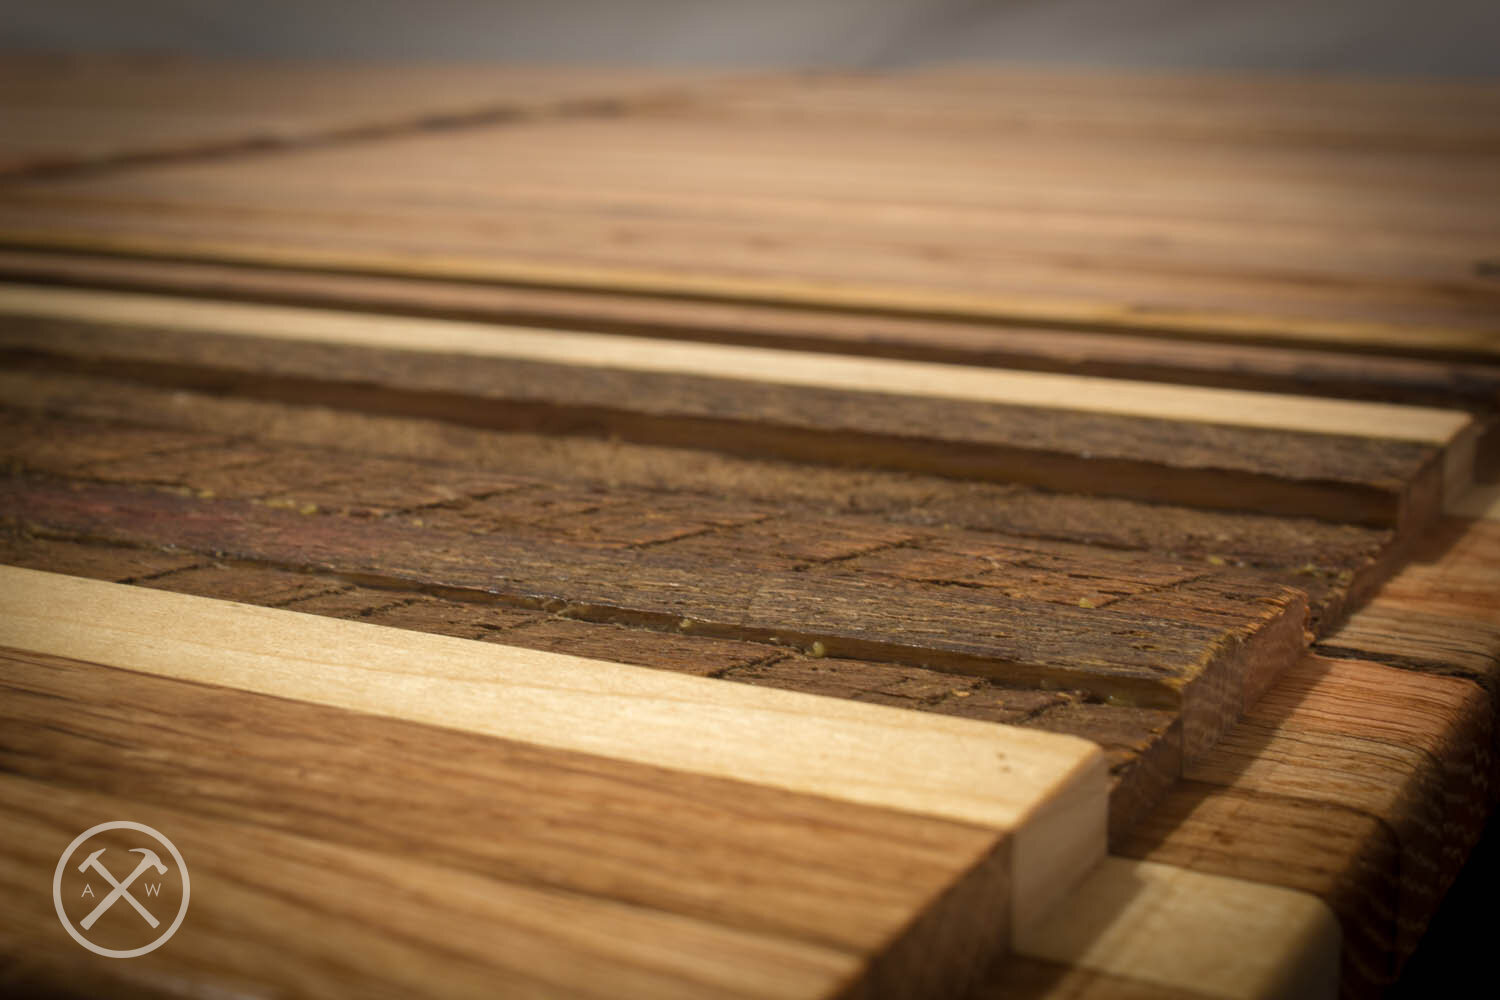
I wanted to have some variation in the boards but not so much it looked like they were just thrown together. With shapes and colors being a struggle point of mine, my lovely wife helped me pick out the pieces for each board and sort them. Besides aesthetics, sorting the wood allowed me to ensure both edges would have tall pieces and the live edges could be in the center. This helps with stability of the board having five or more pieces that are completely flat on the bottom so it won’t wobble.


Step 3: Glue Up
I made a handy cutting board jig that really helped with the glue up process. I typically find myself fighting two dozen clamps it seems like and the boards tend to slide out of alignment doing the traditional way. This jig allows me to drop in the pieces, roll on some glue, and stack them up.

When they are all glued, I do a quick check on the underside to make sure each piece is laying flat and then drive the wedge. Once the wedge is in, I add a clamp to each end where the wedge doesn’t get to and walk away for 30 minutes. After the thirty minutes, the excess glue is easily removed from the live edge area so you aren’t left with unsightly glue blobs.
I like to let them sit in “the clamp” for about 12 hours before removing. Since I had 13 to make and only glued up one at a time, I stored the glued ones inside where the humidity is constant and have them stickered (small pieces of wood between the boards to allow air flow) so they don’t cup. I discovered this issue on the very first test board (thankfully I had done a test board!).
Step 4: Final Milling and Finish Prep
With all the boards glued up, it was time to do the final milling. This ensures a flat and even top and a sturdy base. The bottom of the board went in to be planed first since the ‘top’ was flatter. Once I had five or so boards flat all the way across, I flipped it over and did the tops.
Next, it was over to the table saw with the Dado blade setup to cut a rabbet on the ends to serve as a handle of sorts. Then off to the router to round over the sharp edges and then give it all a pass over with the sandpaper and random orbit sander. The flexible sandpaper makes quick work of the round overs without changing their geometry, it may cost more but its worth the headache savings.


Step 5: Finishing
Live edges aren’t exactly easy to just wipe finish on. Instead of trying to even worry about that, I pulled out my HVLP sprayer and sprayed the backs of the cutting boards. I only used the sprayer on the back as it used a LOT more finish to get the job done and it’s not cheap. I wiped finish on the tops to conserve finish and it also gave it a smoother touch after it was dried. Each board got 3 coats, buffed with #0000 steel wool between coats.


These sat out in my dining room for over 72 hours to ensure that they were well cured before shipping them off. That finish fully cures in thirty days, but food safe in 72 hours. I say if its food safe, its probably shipping safe too. I would have hated to have put in all that work and rushed them out the door only to have the finish damaged in transit.
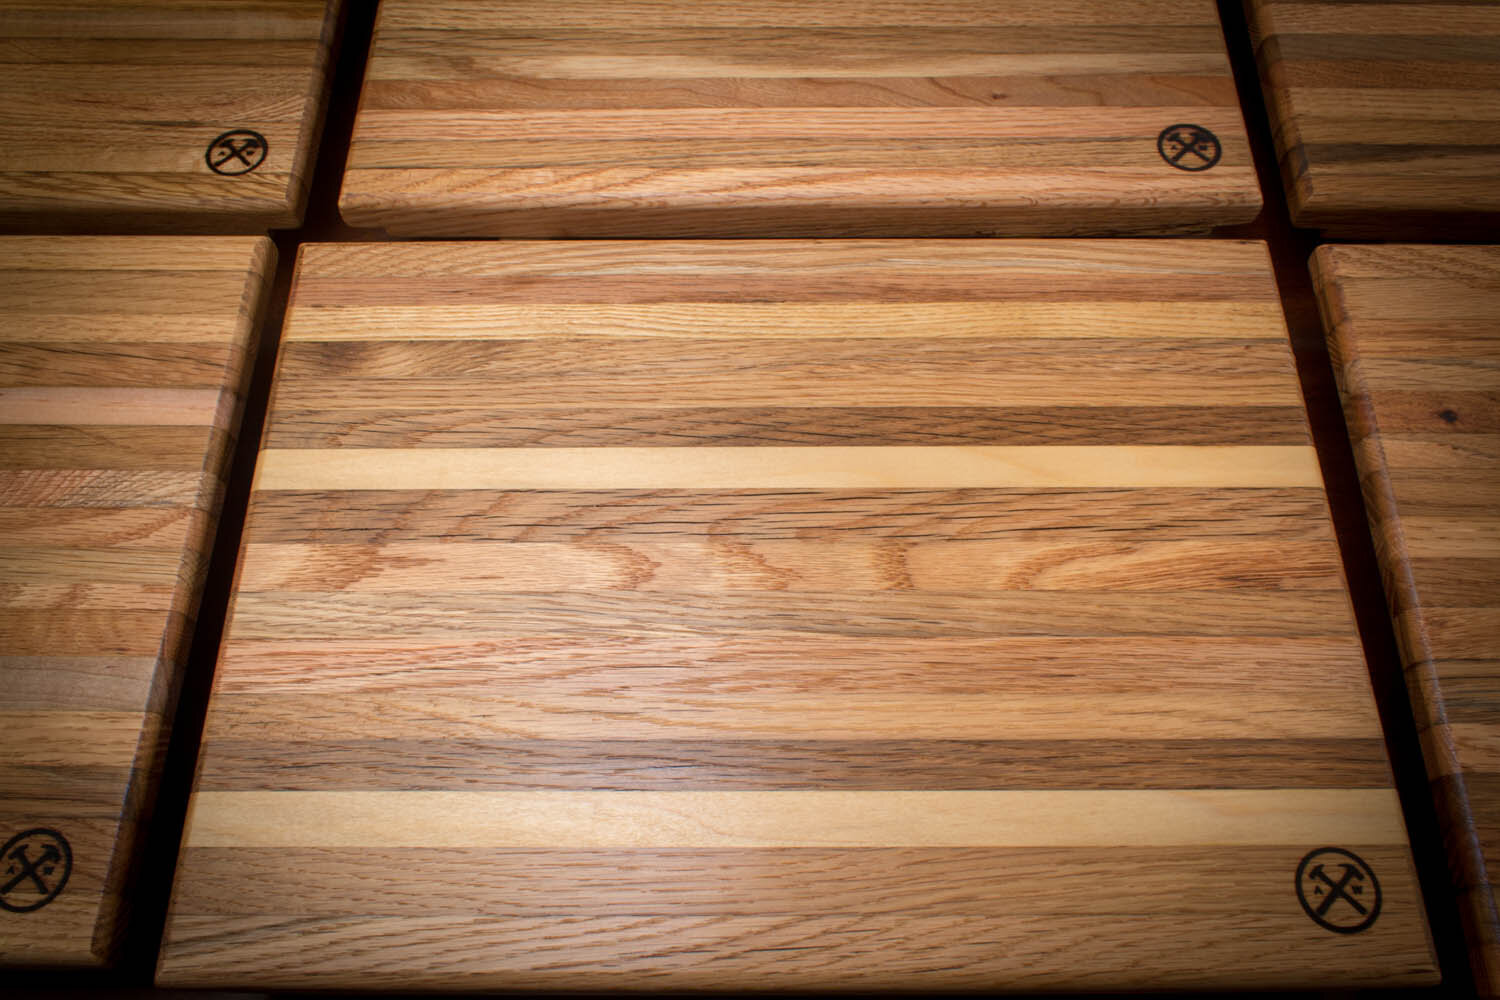
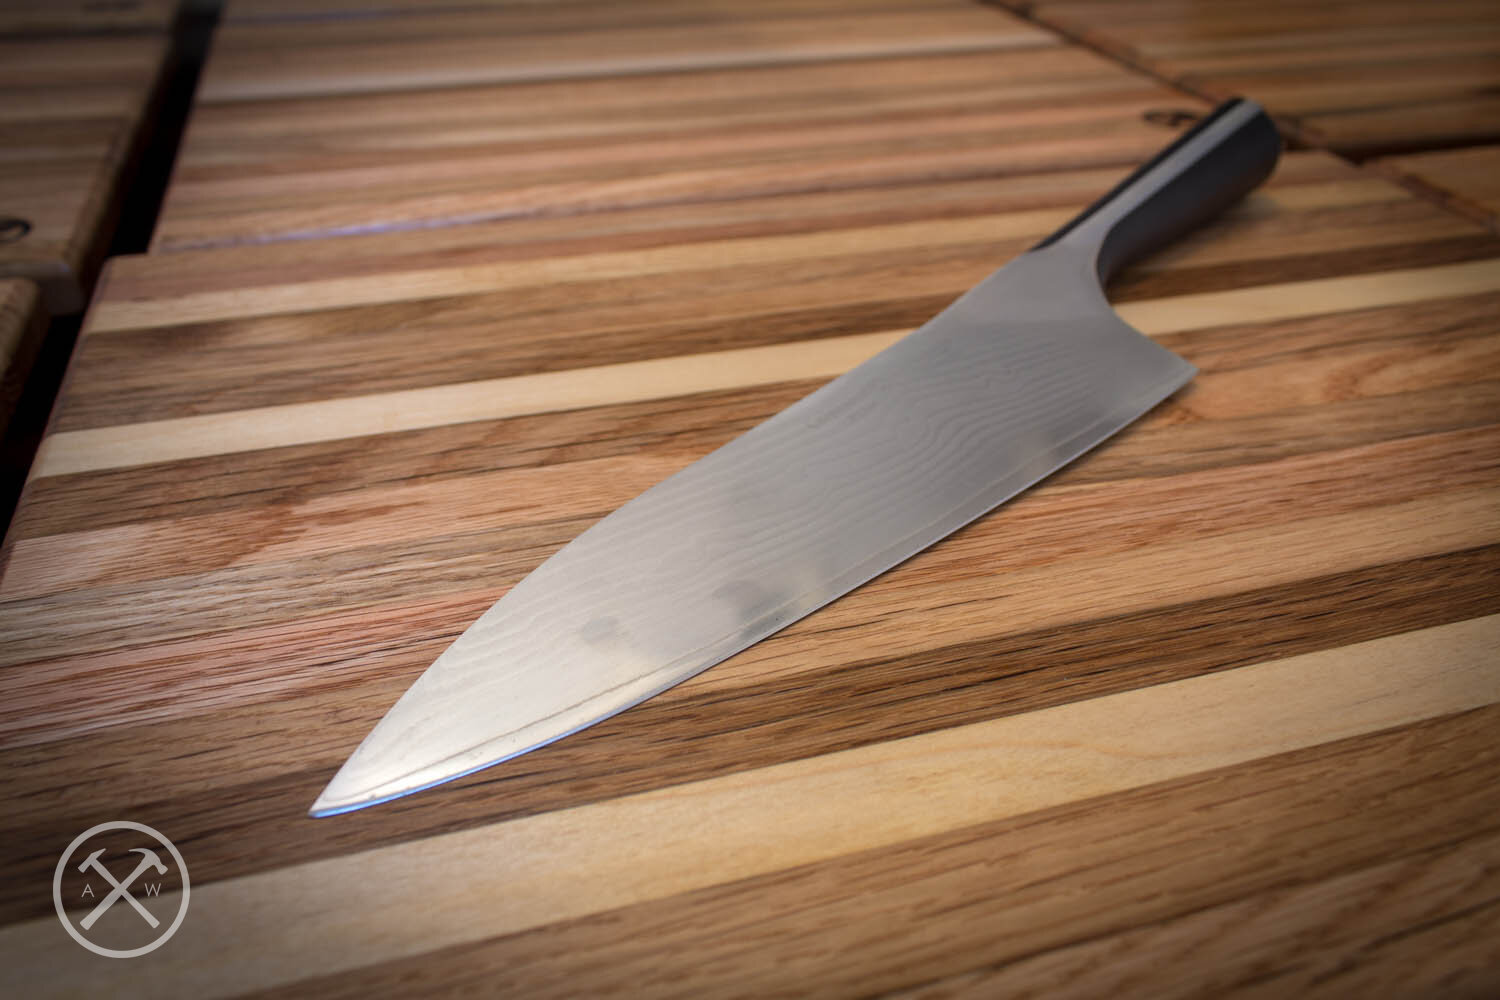
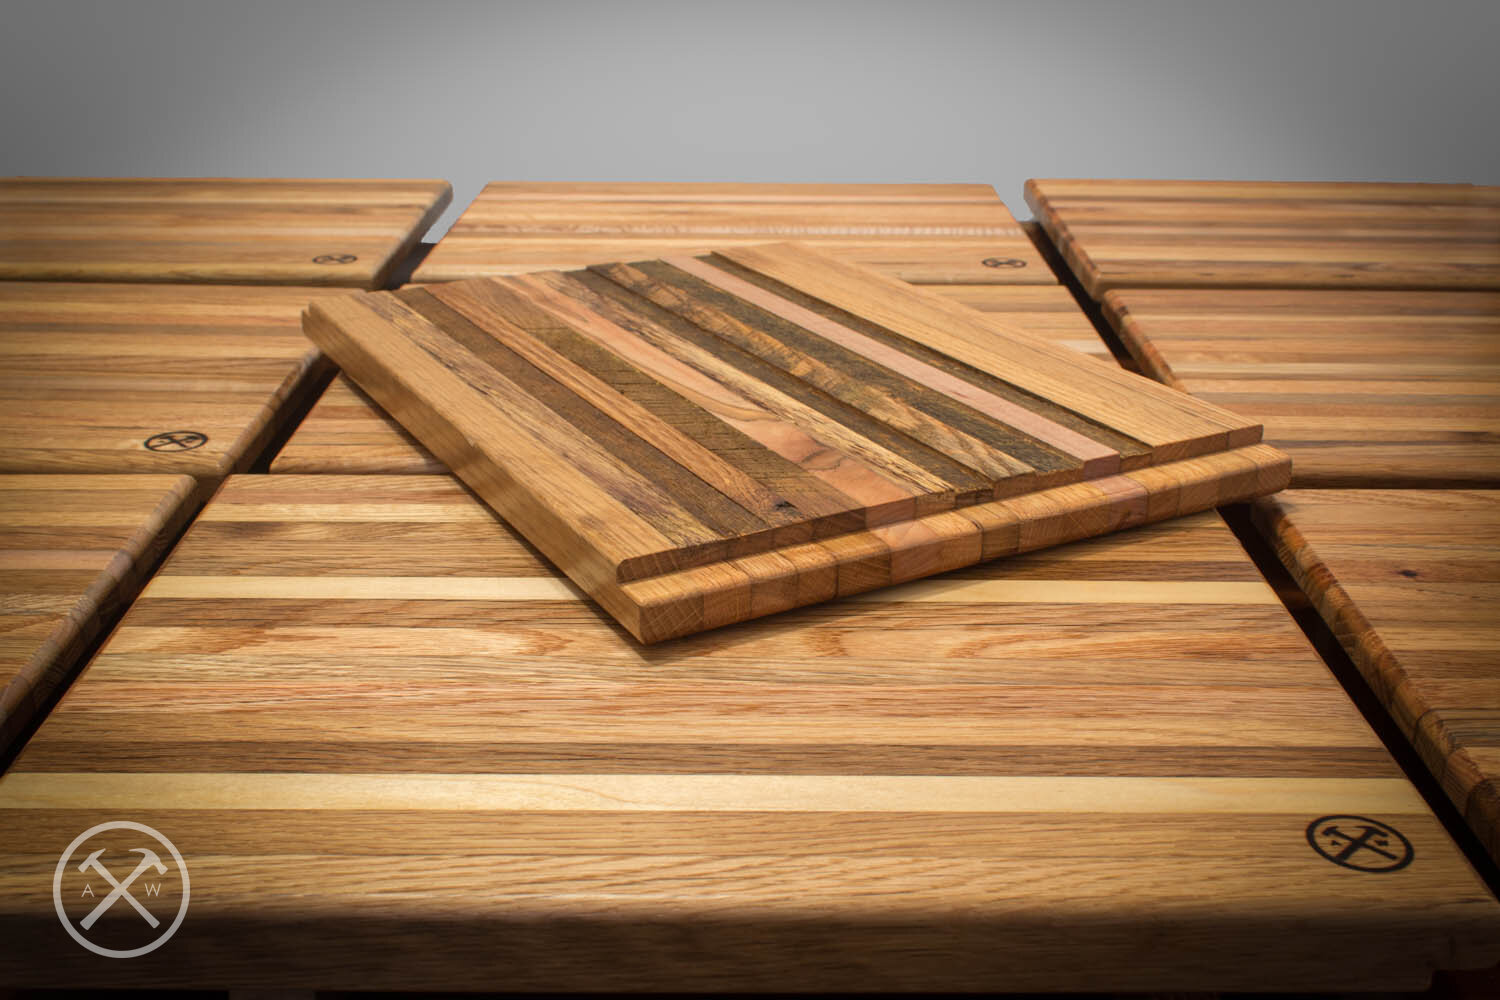
The Finished Product
The Build Video
Resources
Dewalt Planer Amazon
Grizzly Jointer (looks like a newer version of mine) Amazon
Glu-Bot Amazon
HVLP Sprayer Amazon
30 Gal Air Compressor Amazon (it has 3 stars on Amazon, but I like mine.)
Bosch Random Orbit Sander Amazon
General Finishes Salad Bowl Finish Amazon
Titebond II Wood Glue Amazon
3M Ultra Flexible Sandpaper Amazon
The Amazon links are affiliate links. They don’t cost you anything extra but it really helps me support the site. Thank you for your support.